Wednesday, May 29, 2013

Ruched Side Maternity Shirt

This week is crazy. I enjoyed Monday to the fullest with my hubby and boys and now the madness begins. I don’t know how you moms with kids in sports/activities do it. Mine aren’t in any activites, but between me and my husband this week, we have something going EVERY night this week. Ahhh!

Anyway, last week, before the crazy, I worked on my sewing to-do list. This one has also been on my list for 2 years. haha. Do you all know Shade Clothing? Great clothes, love their stuff.  Well, I got a bunch of shirts on super mega clearance a while back with the intention of ruching the side for a maternity shirt.

Pre-Pinterest I saw a tutorial on this, don’t know where it is now since I didn’t Pin It, but it’s super easy.
Take a long shirt

Large Maternity Shirt Ruched Side Shirt3

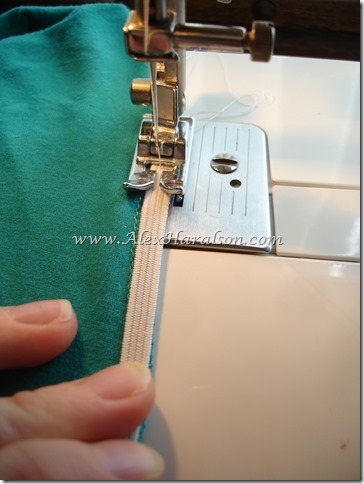
and 1/4” elastic. Turn the shirt inside out and along the inside seam, line up the elastic and begin to sew. Sew with a zigzag stitch and once the elastic is secured, after the first couple stitches, begin to stretch the elastic as you sew.
Large Maternity Shirt Ruched Side Shirt4

You might have to use one hand to help it feed through, but the more you stretch the elastic, the scrunch-ier  it will be.
Large Maternity Shirt Ruched Side Shirt5

Pretty easy, don’t know why the easy projects usually take me the longest to complete!
Large Maternity Shirt Ruched Side Shirt7

Baby bump @24 weeks!
Large Maternity Shirt Ruched Side Shirt8

Hope your week is going great! If I can manage to feed my family most nights this week, I'll be super happy.

Monday, May 27, 2013

Green Chili Chicken Casserole–Yum!

I hope you're all having  a great weekend, Happy Memorial Day! Let's all make sure we remember and thank those who've given their lives and time to fight for our country!

 It has been pretty busy weekend for us and the rest of the week isn't looking any better. Between my husband and I we have something every night this week except tonight. Our kids aren't even in school or other activities yet and we're that crazy busy with church meetings and such. Yikes.

So with that out there, this is one of my favorite recipes to make on a busy evening. It goes together super quick and bakes in about 20-30 minutes. It would also make a great freezer meal! Oh and I also need to clarify that this recipe comes from my mom, Carol. She doesn't have a blog, otherwise I'd link to it, (maybe I should post her email?), but she's been giving me some flack for not giving proper credit for her recipes in the past. So if I say "it's a family recipe" it's probably from her. Just FYI. :-D love you mom.

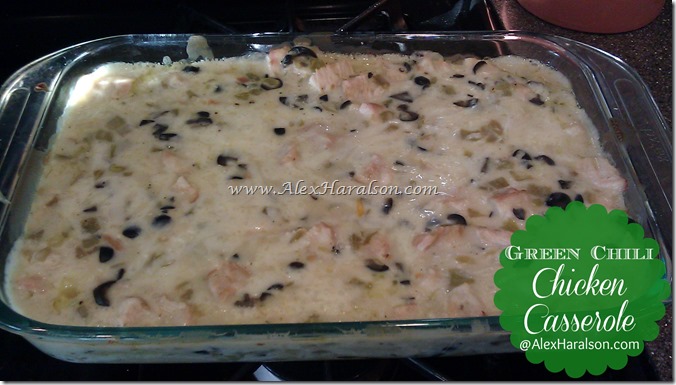
Green Chili Chicken Casserole

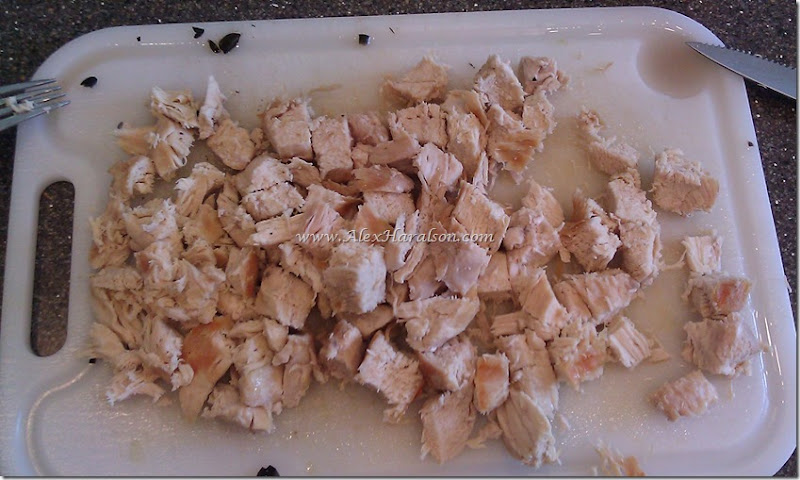
Start by cooking the chicken and chopping into small pieces when done. 
Green Chili Chicken Casserole4


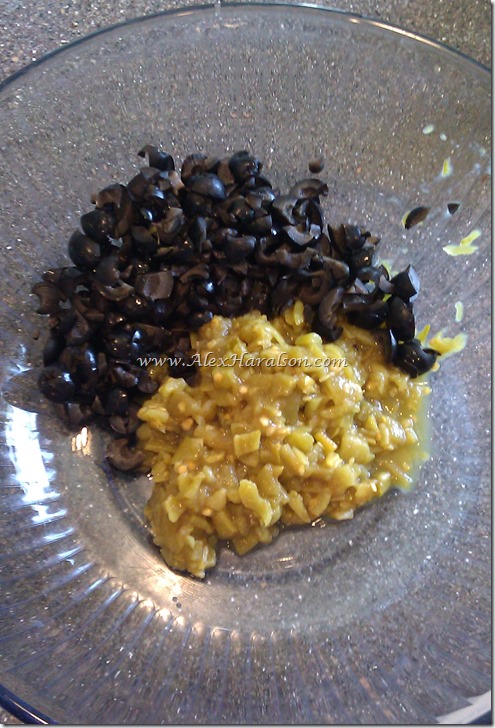
While the chicken is cooking, mix olives and green chilis together
Green Chili Chicken Casserole2

Add soup, either homemade or cans. If using canned soup, dilute with one can of milk.
Green Chili Chicken Casserole3

Add the chicken when it's cooked.
Once the green chilis, olives, chicken, and soup have been mixed together, season with salt and pepper to your tastes.


Green Chili Chicken Casserole6

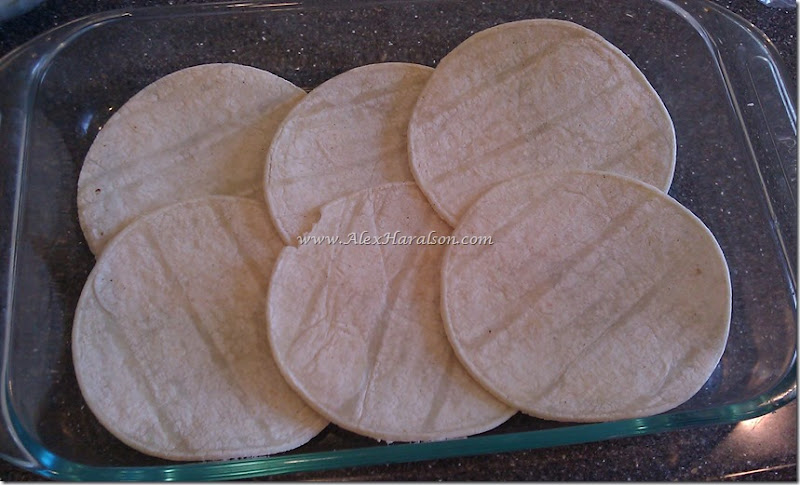
In a baking dish, layer the bottom with tortillas
Green Chili Chicken Casserole7

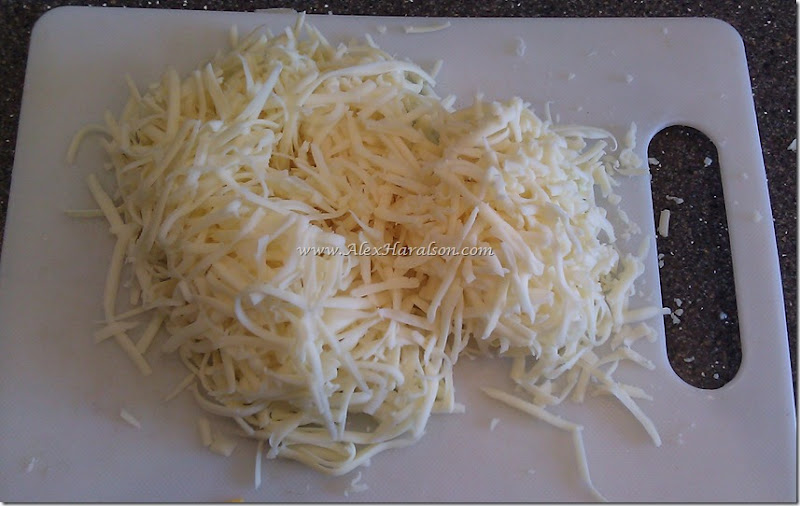
Grate the cheese
Green Chili Chicken Casserole5

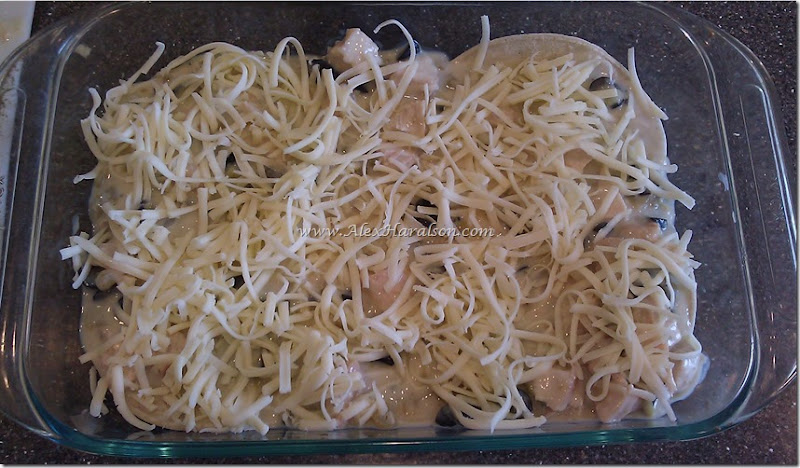
Layer the soup mixture on top of the tortillas

Green Chili Chicken Casserole9

then a layer of cheese. Repeat tortillas, soup mixture, cheese a couple time. Usually about 2-3. 
Green Chili Chicken Casserole8

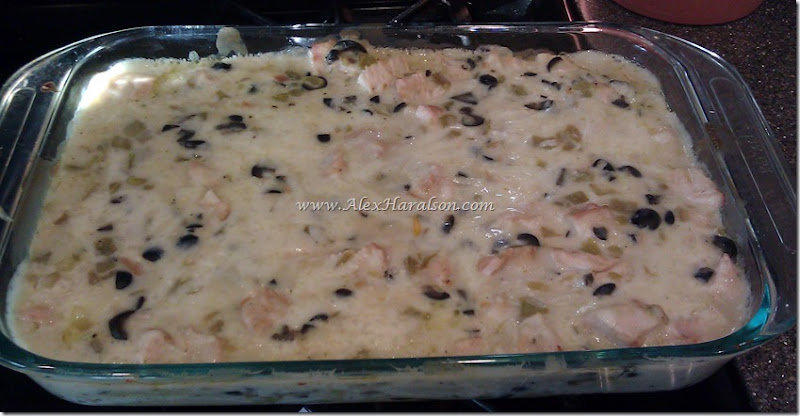
Bake at 350 degrees for about 30 minutes or until bubbling.

Green Chili Chicken Casserole11

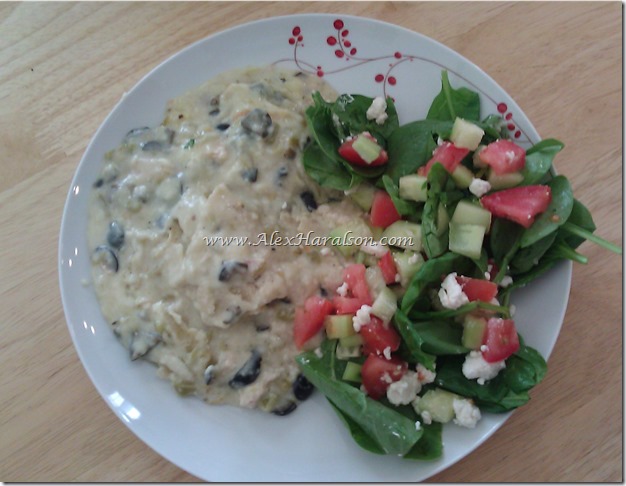
I usually serve with a side salad, now enjoy! 

Green Chili Chicken Casserole12

Green Chili Chicken:
2-3 chicken breasts
2 cans cream of chicken soup (or a double batch of homemade cream of chicken soup)
2 cans chopped green chilis
1 can chopped olives
1 med onion chopped (I personally leave this out and it's still really yummy)
salt & pepper
small corn tortillas
1 lb longhorn (or Monterey Jack) cheese grated


Dilute soup with 1 can of milk (if you're using canned soup). Mix all ingredients together (except cheese and tortillas).
Layer tortillas, soup mixture, and cheese. 
Bake for 20-30 minutes until bubbling at 350 degrees.

Friday, May 24, 2013

Pajama Pants to Shorts

My oldest son is the cutest thing ever,but the hardest thing about clothing the little stinker is he is just so darn skinny! haha. He’s almost 4 and 18 month shorts/pants still fit his waist. So last summer he was needing some summer pjs but I mostly had pants. Well because of his whole skinny minnie status, the 18 month pants were becoming high waters on him. So what to do? Make them into shorts of course!
PJ pants to shorts Refashion4-2
You’re going to hate me, I don’t actually have a before picture because like I said above, I actually cut them up last summer. oh shame on me, I know. They’ve been in my mending pile for a year because I accidently cut them at such a funky angle so I thought there was no hope for them.
But I pulled them out this year determined to fix them – and I did!
So ideally if you’re going to do this from a pair of pants, lay a pair of shorts that fit on top to measure the length and cut about an inch below that. That’s what I did, just for some reason at a really bad angle. Don’t do the bad angle though. No bueno.
PJ pants to shorts Refashion
I turned them inside out and folded up the bottom. Since I cut it all wonky to begin with, the inside is folded up more than the outer edge. You would make an even fold if you cut them well, which I’m going to assume you did. Smile
PJ pants to shorts Refashion2
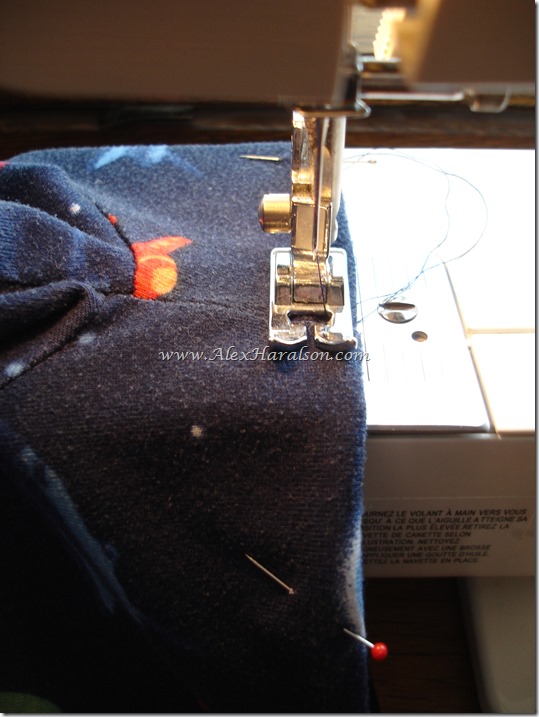
I pinned on the outside of the shorts and turned them right side out. I sewed with a 1/4” seam allowance.
PJ pants to shorts Refashion3
And did a second seam a little closer to the edge than the first. Then cut the excess fabric out of the inside.
PJ pants to shorts Refashion4
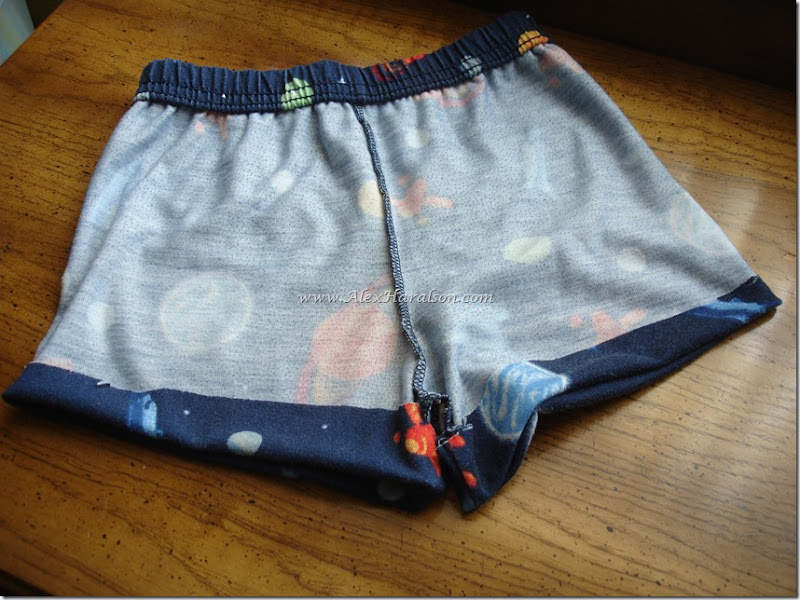
They turned out really good and didn’t end up being too short like I had feared.
PJ pants to shorts Refashion8
So moral of the story is 1) don’t take a year to hem a silly pair of shorts. 2) be more careful when cutting! Open-mouthed smile
Have a wonderful Memorial Day weekend! Have lots of fun and be safe!!

Wednesday, May 22, 2013

Cream of Anything Soup

Aaaaand I’m back. Did you miss me here on Monday? Nah, I’m sure you loved Becky’s blog! Not sure what I’m talking about? Check out my guest post on Love to Be in the Kitchen HERE

So I’m popping in to share with you how I make my cream soups. For about a year or so, I’ve really been making an effort to feed my family healthy and clean foods. By that, I felt I needed to cut out as many processed foods as I could reasonably stand. So anytime I come up against a recipe that calls for ‘cream of…’ soup, I make it instead.

Sound hard? It’s not and once you’ve got the recipe down it takes no thought (in fact, I’m writing this post from memory- and I have major pregnancy brain so that’s saying something!)and no time at all. Any recipes tastes sooooo much better this way too.
cream of anything soup

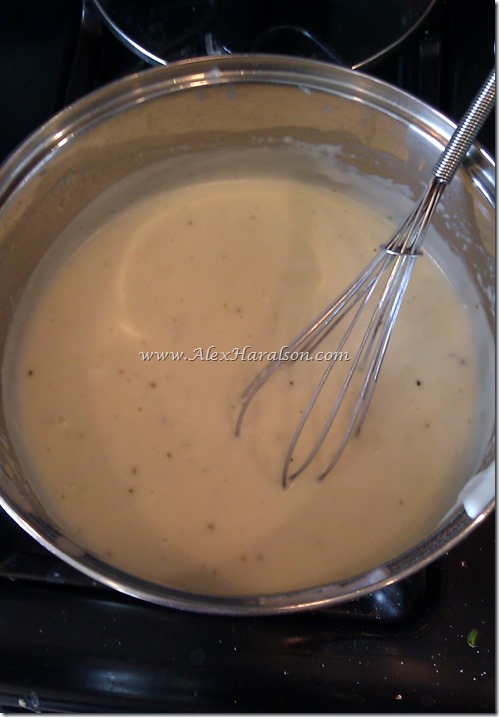
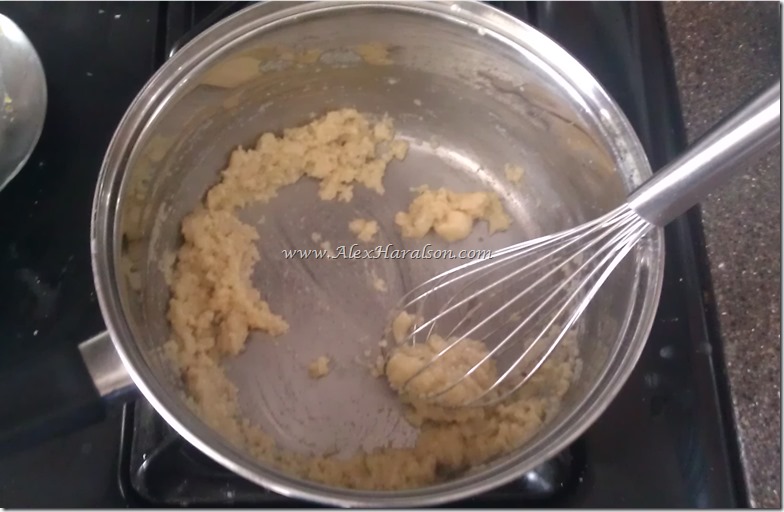
Begin by melting 3 Tablespoons over medium heat, once melted, add 3 Tablespoons of flour, 1/4 tsp of salt and a dash of peper and stir together. It’s going to be doughy like this. Cook it for 1-2 minutes, that gets rid of the raw flour taste.
2013-05-19 18.04.56

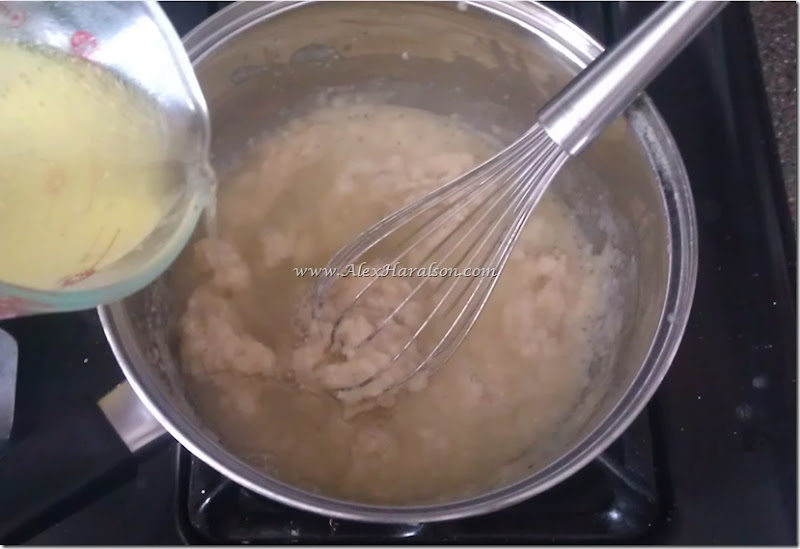
Now add a little at a time the broth/milk (it depends on the type of soup you’re making, I’ll explain below). Wisk together until incorporated, then add more of the liquid.
2013-05-19 18.07.14

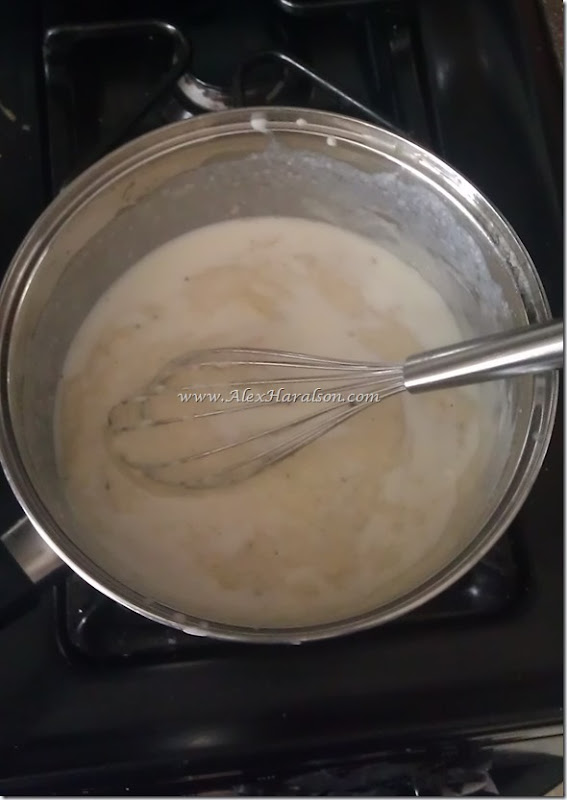
Add the milk and wisk together.
2013-05-19 18.08.58

At the end you’ll have a beautifully smooth and creamy substitute for that can of cream of something
cream of anything soup

Cream of Anything Soup:
3 Tablespoons butter
3 Tablespoons flour
1/4 tsp salt
dash of pepper
1/4 tsp poultry seasoning or sage (I don't have either of these on hand so I usually just put in chicken boullion, or whatever that powder seasoning is called you can add to water to make broth :) - I'll add about 1/2 tsp-1 tsp .I just go by taste on this one)
1 1/4 C liquid, milk or broth


Directions:
Melt butter, stir in flour, salt, and pepper and heat until bubbling, 1-2 minutes. Add liquid slowly, cook until thick.
For cream of chicken soup: use chicken broth for half of the liquid, other half milk. Add 1/4 tsp poultry seasoning or sage.
For cream of mushroom/celery soup: sauté mushrooms/celery and 1 T onion in butter before adding flour (sometimes a teeny bit more butter is needed too)
There you go, that’s how you can make cream of anything soup if you’re in a pinch or want to make a recipe a little bit healthier.
Enjoy!

Monday, May 20, 2013

The Prudent Homemaker Garden Tour

Hey everyone! How was your weekend? Ours was alright. Not very productive. Saturday was pretty much lost with my husband gone most of the day. Once he got home I went grocery shopping - alone! That was pretty much it. Oh well, hopefully this week will be more productive and I'll actually get to see my husband more....I can dream, right? Yeah unfortunately his busy season is still not done yet. I suspect it never really is.
Today I'm over at Love to Be in the Kitchen guest posting. So I'll let you hop on over there and discover what I'm sharing. 

Here I'll just leave you with a few pictures. A couple weeks ago I went on a garden tour of The Prudent Homemaker's garden. It was amazing to say the least. She is able to grow soooo much wonderful fresh food for her family back here - and in Vegas no less! That alone is an accomplishment. 

She has tons of fruit trees too - that's what I would like to do to our backyard, get lots of fruit trees growing back there. 


DSC08488

And she has the coolest homemade merry-go-round and swing set for her kids to play on. 


DSC08487


Anyway, I learned a lot. We're not quite ready to do our own garden yet - there are still tons of things on the to do list before that, plus it's already too hot to plant. I really loved all the ideas it gave me though.

So, yeah, check out the recipe I'm sharing over at Love to Be in the Kitchen! You won't regret it, it's one of my favorites for summer!


twitterbutton pinterestbutton Photobucket Photobucket Photobucket facebookbutton

Wednesday, May 15, 2013

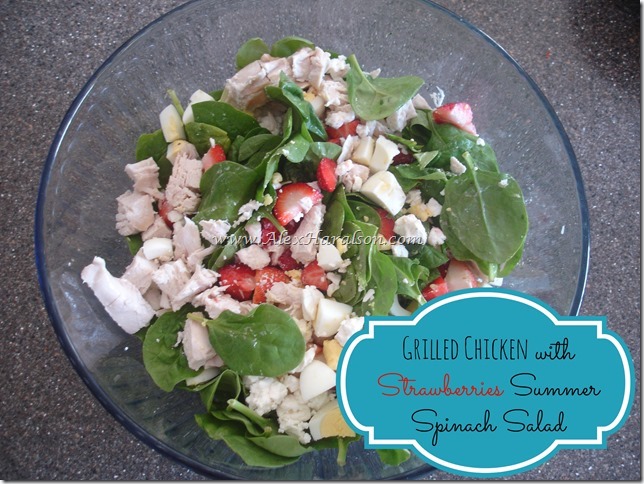
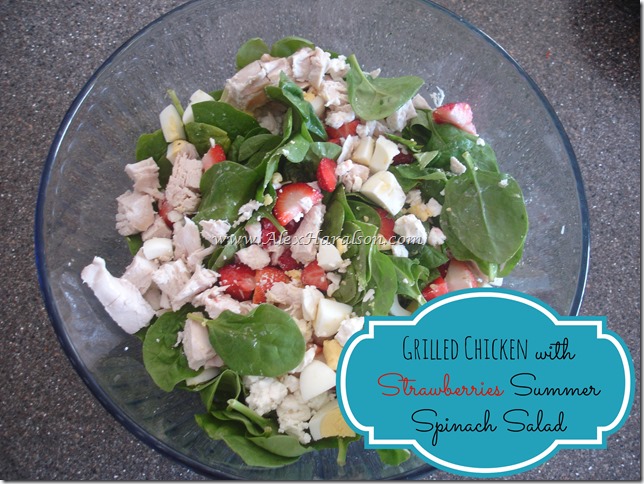
Grilled Chicken with Strawberries Summer Spinach Salad


grilled chicken strawberry salad

For the past year or so, I've been feeding my family mostly vegetarian. I made a turkey dinner for Thanksgiving when my in laws came and corned beef as a direct request from my husband for St.Patrick's day. Other than that we've really only eaten meat when we've eaten out or been to social gatherings. But since I've been pregnant, I've needed some extra protein and iron and a couple weeks ago, Fresh & Easy had a sale on their chicken for $0.50/lb!!! Granted it had skin and bones, but for $0.50/lb I was willing to work with it. Plus it was hormone and preservative free chicken, even better. 

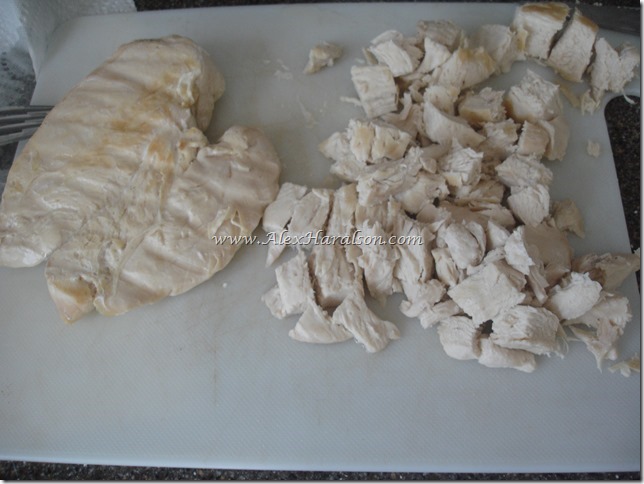
I grilled the chicken on my George Foreman grill and chopped it up. 

DSC08549

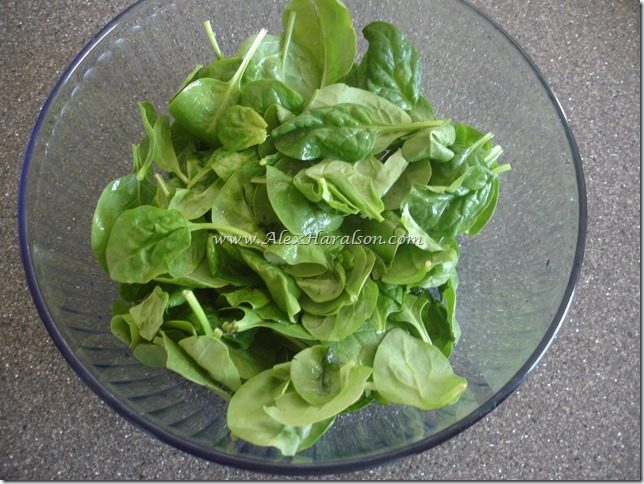
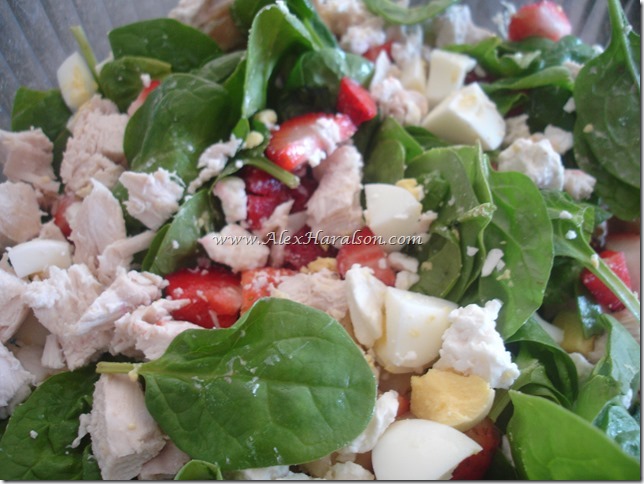
I washed and dried a bunch of spinach, chopped strawberries, and hard boiled eggs. 

DSC08550

Sprinkled on a little feta cheese and voila! 
DSC08553

A super yummy and fresh summer salad. 

grilled chicken strawberry salad
My personal favorite dressing is Fresh & Easy's Asian Ginger Vinaigrette. Mmmmm. So good! And that on top of the salad was just amazing!


Monday, May 13, 2013

High Water Jeans to Shorts Keeping the Original Hem

Hey wonderful readers! I hope you all had a great weekend and a Happy (Late) Mother's Day!!

My husband was so sweet. He made breakfast before church and we all ate it picnic style in our bedroom. Then he made dinner for us too. It was great! 

Alright, I'm just busting away at my sewing list so here's another project I got done last week. 
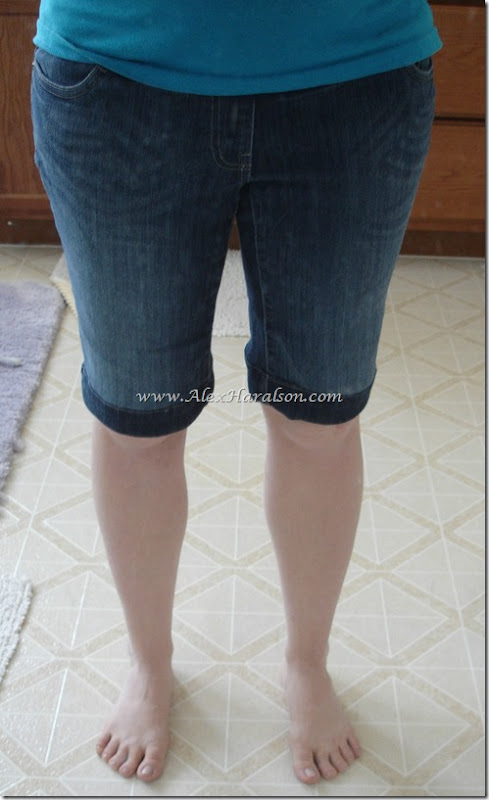
High Water Jeans to shorts with original hem

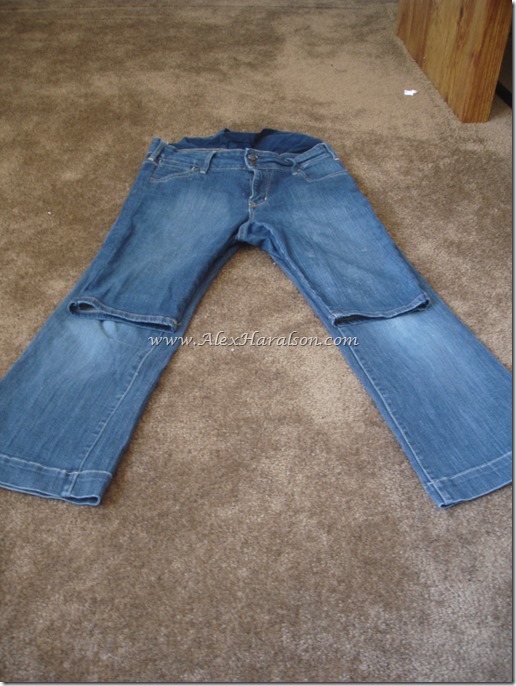
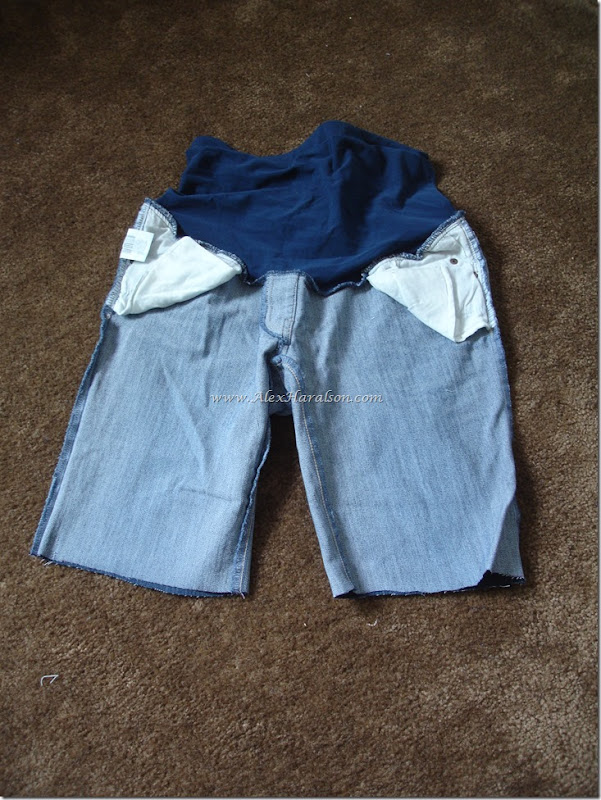
When I was pregnant with Andrew and first went shopping for maternity clothes I got these great jeans. Somewhere along the way though they became high waters. I don't know if I shrunk them or if they've always been this short and I just don't remember, but either way they're too short for comfort anymore. 

So I went about making them into shorts. I found this tutorial from The Pretty Poppy for hemming jeans with the original hem and decided to give it a try.

High Water Jeans to shorts with original hem2

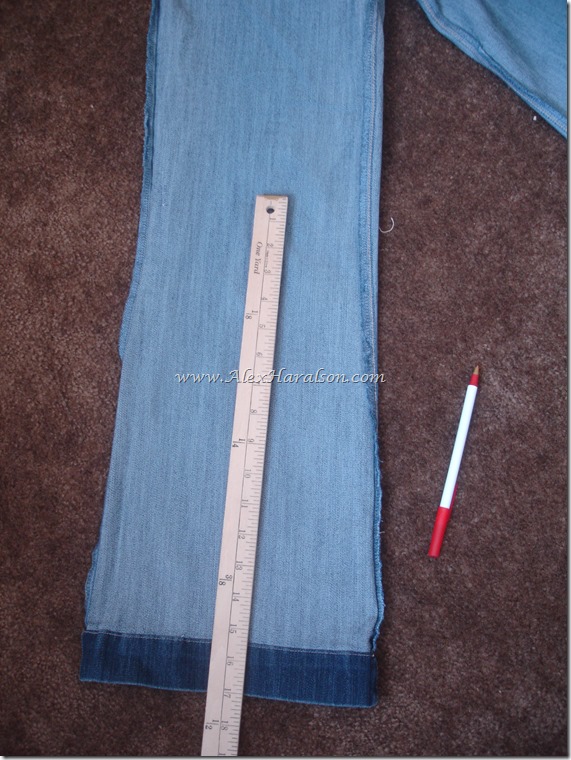
I laid the jeans on the floor (should be inside out) with a pair of shorts the length I like. 

High Water Jeans to shorts with original hem6


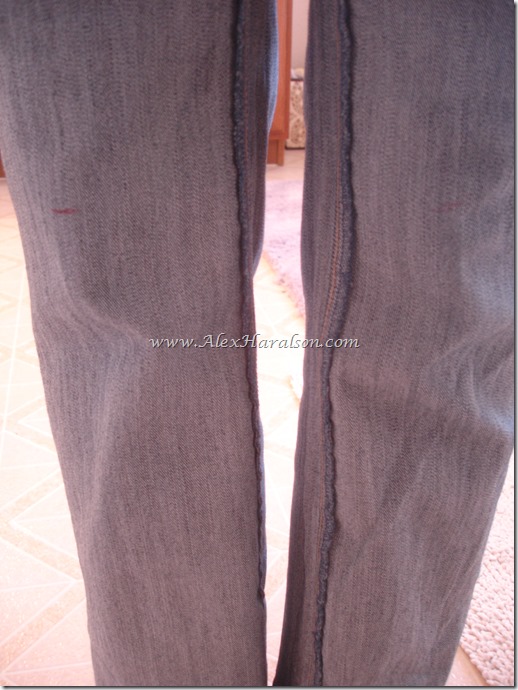
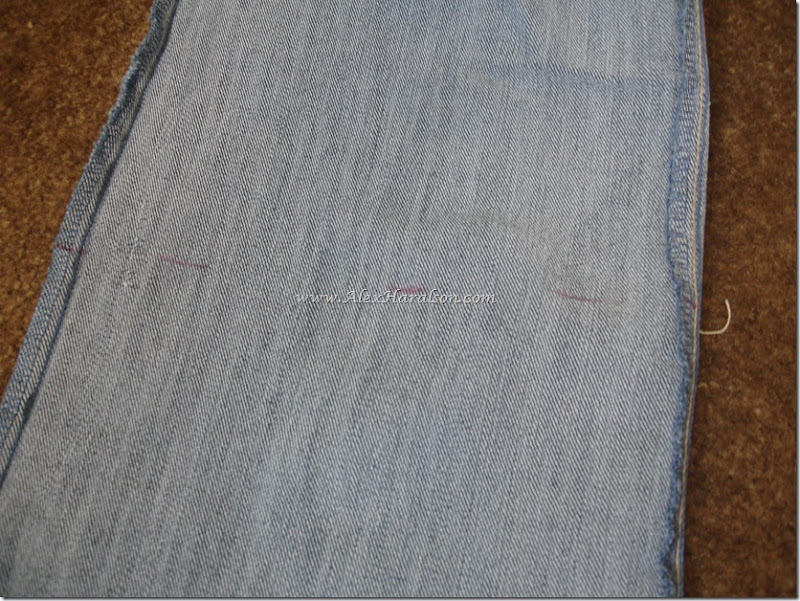
With the jeans turned inside out I marked them the length I wanted them to be.
High Water Jeans to shorts with original hem11

I measured from that mark to the bottom of the pants. 
High Water Jeans to shorts with original hem12

Using that measurement I made marks all the way around the pant leg. 

High Water Jeans to shorts with original hem13


I cut around the pant leg following the lines.
High Water Jeans to shorts with original hem20

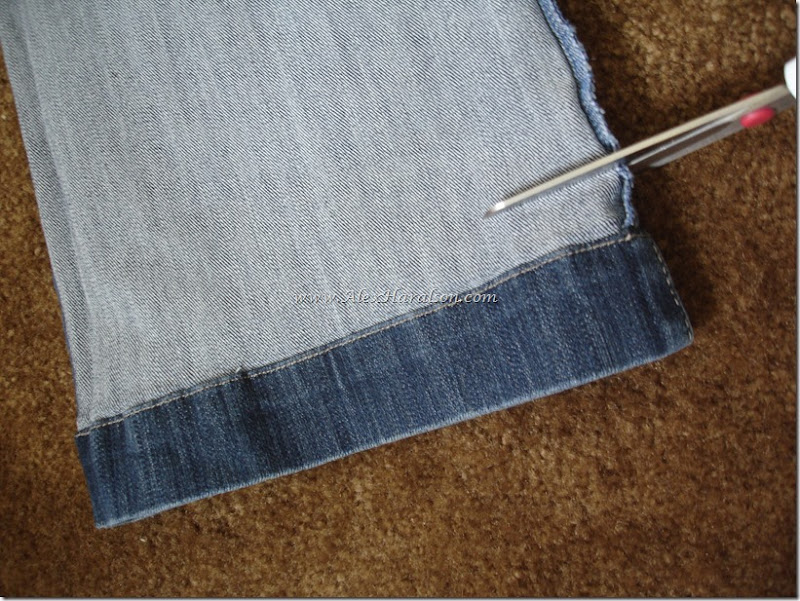
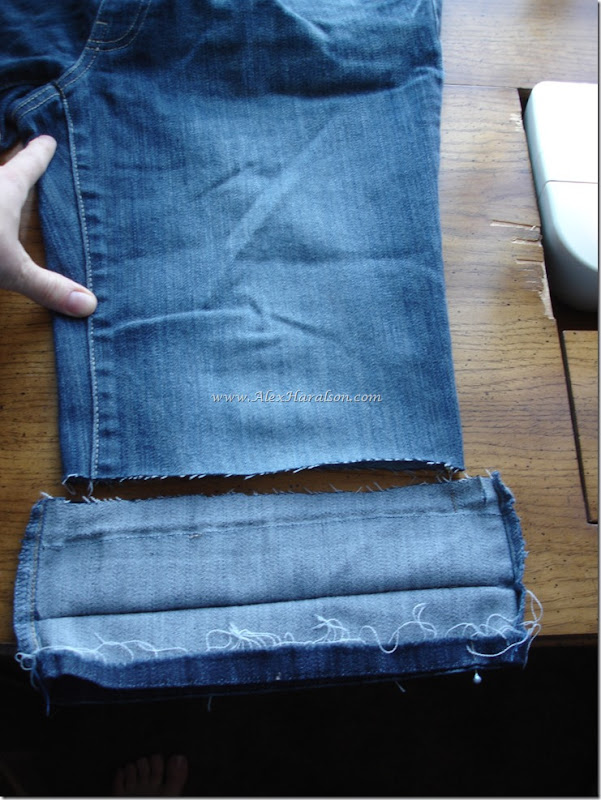
Then I cut the original hem off about 1/2" above the seam. 
High Water Jeans to shorts with original hem17

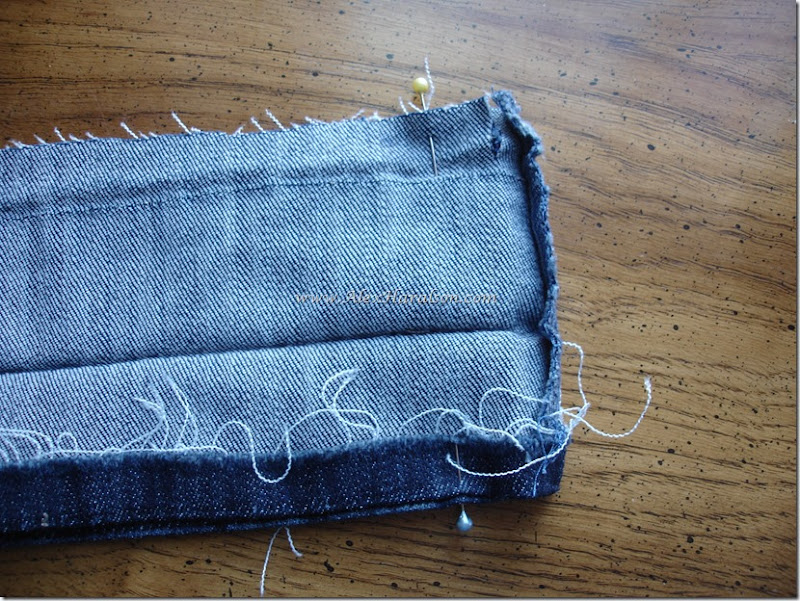
Then using seam rippers, I removed all the stitching from the hem of the jeans. 
High Water Jeans to shorts with original hem18

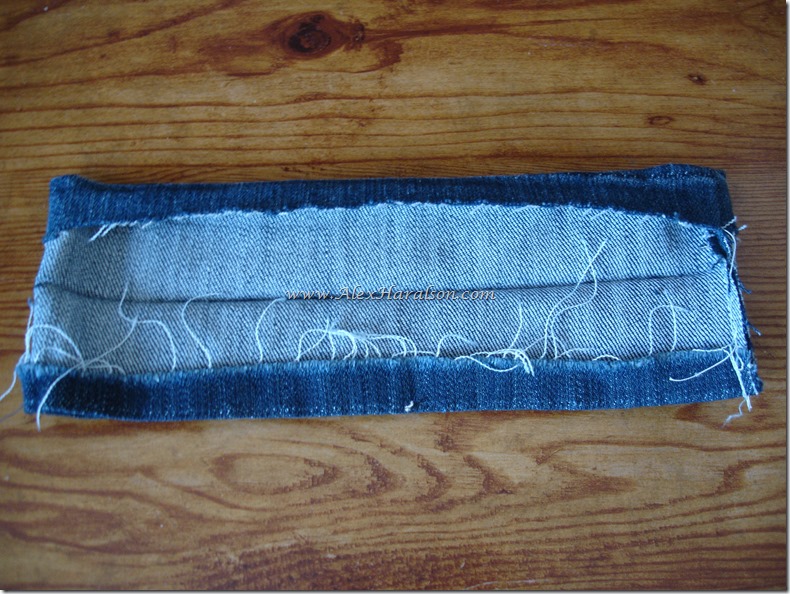
So if you were doing this to just hem jeans a little, you wouldn't have this problem, but since the bottom of the jeans is wider than where I cut them off at, I had to sew the cuff a little bit smaller to line up.

High Water Jeans to shorts with original hem22

Mark where they line up and sew a line and cut off the extra.
High Water Jeans to shorts with original hem23

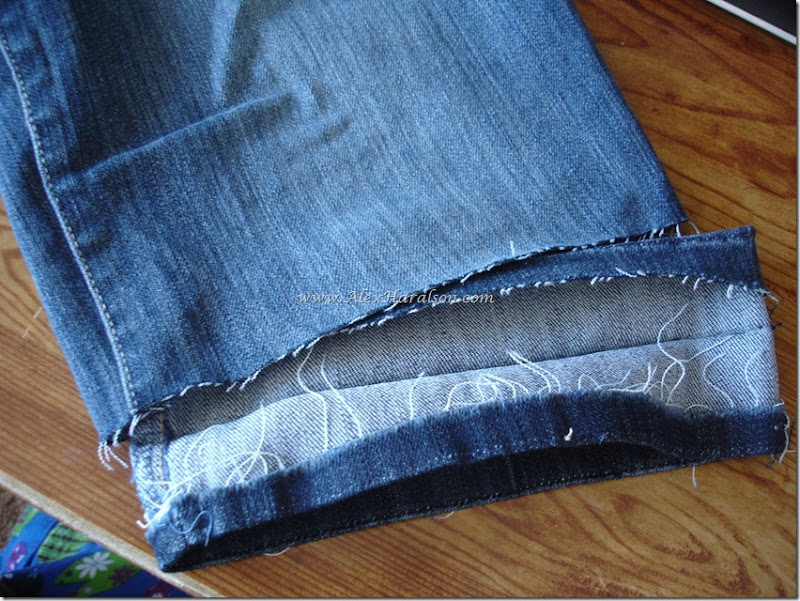
With the cuff open, fold the top down about 1/2" 

High Water Jeans to shorts with original hem28

Then insert the cuff into the leg of the shorts and fold the cuff over top of the jeans.

High Water Jeans to shorts with original hem29

Sew around the legs with thread that matches the original thread. And you're done. I didn't notice the color difference until I was finished, but it doesn't matter. I'm happy that they aren't just cut off looking shorts so I'll take it! :)
High Water Jeans to shorts with original hem32


Related Posts Plugin for WordPress, Blogger...