Monday, December 15, 2014

Fresh and Easy’s New Look and Features

Disclaimer: I was compensated for my time and for writing this post. All opinions are 100% my own and I had a great time at the Fresh & Easy Re-Grand Opening.


I had the opportunity on Saturday to go to the Fresh & Easy Re-Grand Opening here in Vegas to check out one of their newly renovated and redesigned stores. They had giveaways, samples, and other free stuff.

I was really impressed with the new look of the Fresh & Easy stores. The layout is really sleek and clean.
_MG_8720

The shelves are much lower which makes everything at eye level or below and gives the store a really open feeling.
_MG_8721
_MG_8723
_MG_8732

Oh and there's a pretty big gluten free sections, one with the bread and the other the packaged goods.

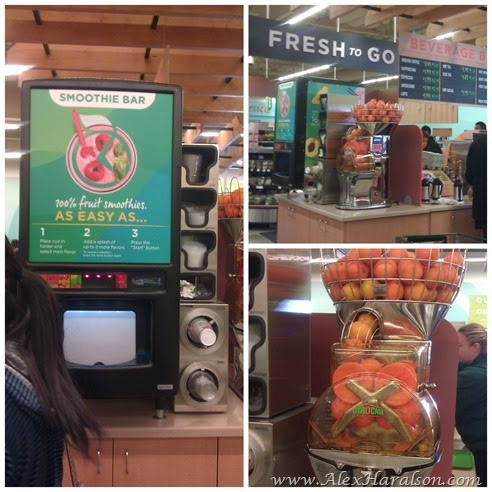
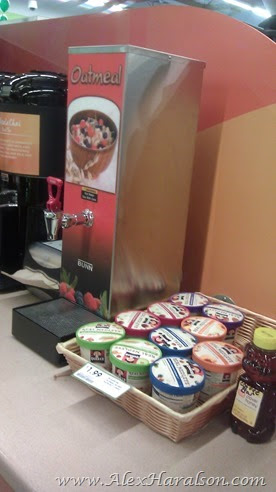
In addition to the new look, there are a bunch of new features in store. The Beverage Bar has fresh made to order smoothies, fresh squeezed orange juice, coffee and tea, draft sodas, and even an oatmeal station!
beverage bar
2014-12-13 13.13.18

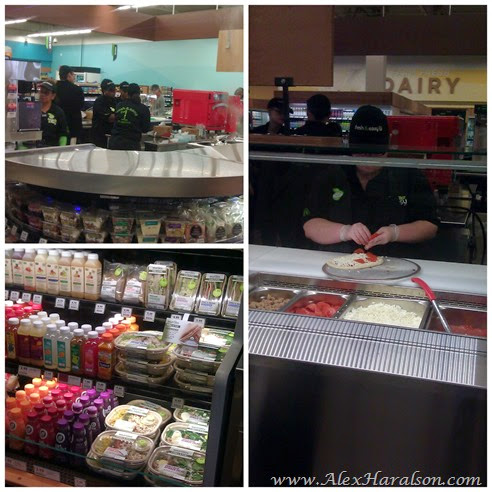
The Fresh to Go area serves made to order pizzas, sandwiches, and soup. I got to try the Chicken Noodle soup and a sample of the pizza, I think it was mushroom, and they were both fantastic! Plus they still have their ready to heat meals that are great for quick meals on a busy night or a quick and healthy fast food alternative.
fresh to go

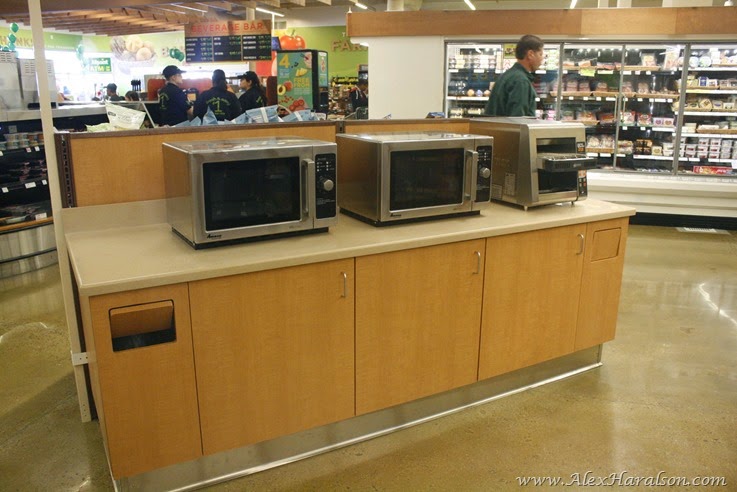
They’ve even provided microwaves and a toaster to heat up your soup, meal, burrito, breakfast sandwich, and more.
_MG_8722

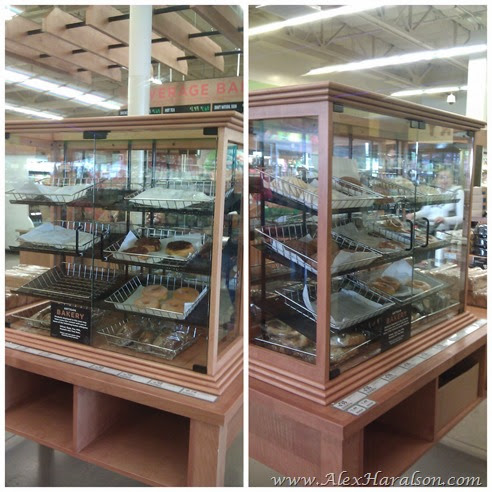
Fresh & Easy still has fresh baked goods, just in nicer cases.
bakery items

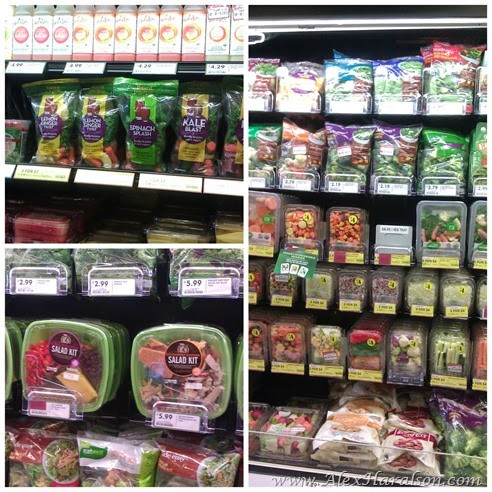
Of course there are still their pre-prepared smoothie kits, salad kits, and their fresh chopped ingredients to make meal prep a breeze.
fresh and easy ingredients

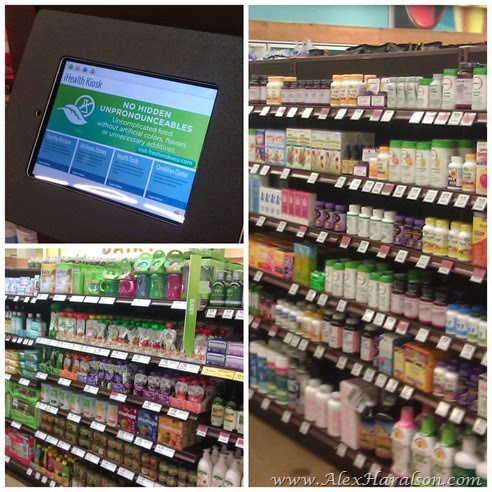
One of the other cool new additions is the homeopathic aisle and new baby section. They even added a little touch screen kiosk to help you understand and select from the homeopathic aisle.
homeopathic baby isle
So there you go, a sneak peak at the new look and features of the new #smartermarket . If the changes haven’t already come to your local Fresh & Easy, they’ll be coming soon. You’ll be really impressed and I’m excited to be able to grab a quick lunch and do my shopping all in one place! Be sure to check out the new look and enjoy a fresh squeeze orange juice or something while you’re there!


pinterestbutton Photobucket Photobucket facebookbutton twitterbutton

Wednesday, September 24, 2014

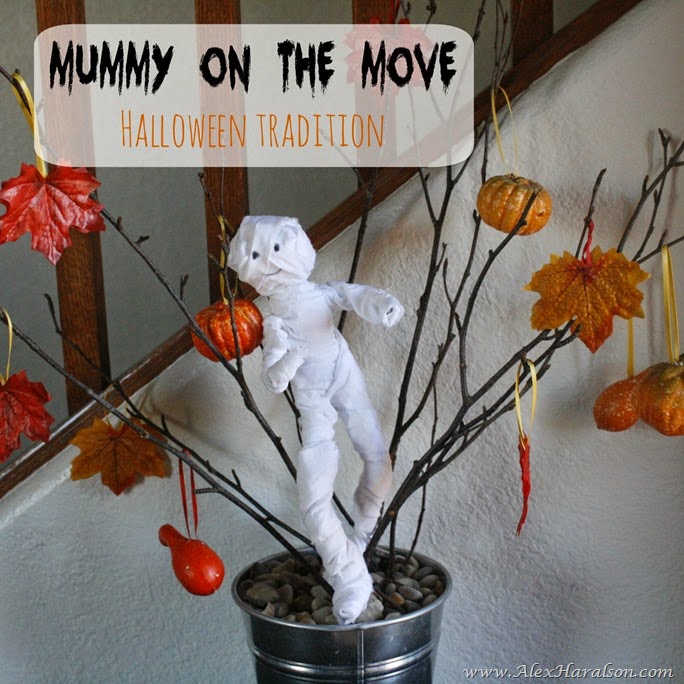
Mummy on the Move Halloween Tradition

Mummy_On_The_Move_halloween_tradition
Happy Fall! How was your first day of fall? I kicked it off by making some soup, yum! I can’t wait to make even more! 

Well I’m back today with this cute craft. My sweet neighbor told me about this a few years ago and ever since I’ve been wanting to do it. So you’ve heard of or seen those mischievous elves at Christmas time. Well this is the Halloween equivalent. My husband and I are really trying to keep the focus of Christmas on Christ because that is what the holiday is about to us. So we didn’t fell like Santa and elves fit into the picture very well and haven’t really had them apart of our kid’s Christmas. 

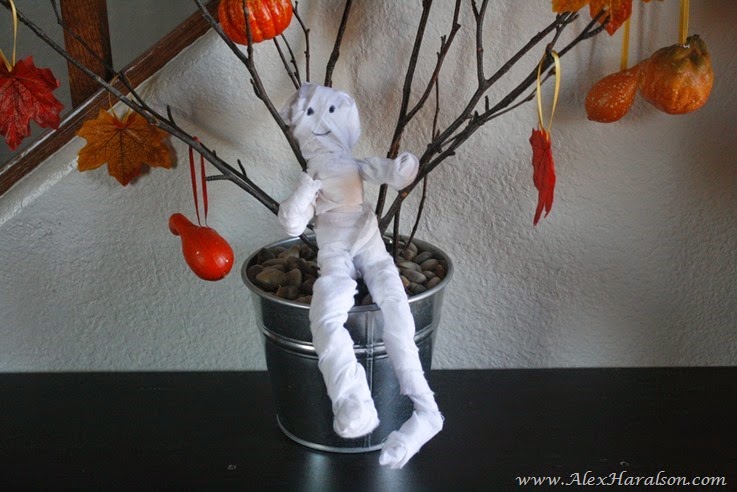
So this guy’s name is ‘Mummy on the Move’ and he will be playing trick or leaving treats for the kids leading up to Halloween. I haven’t ironed out all the details about the back story or anything like that, but I feel really comfortable with this new tradition because it’s fun, memorable, and since Halloween isn’t a big holiday in our house, it fits.

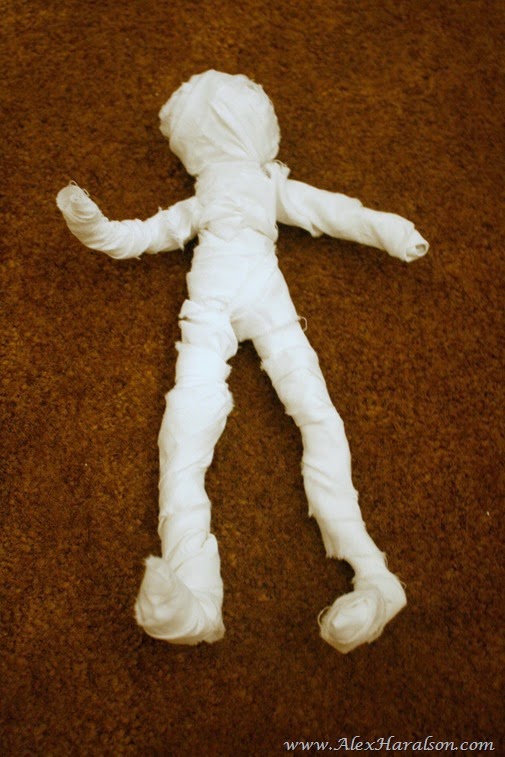
Here is how I made the little guy. All you’ll need is wire and muslin ripped into 1” strips
Mummy_On_The_Move
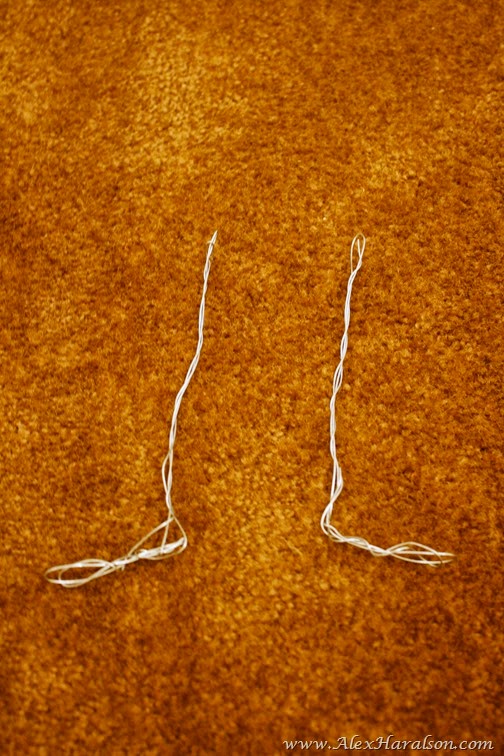
Start by shaping his legs
Mummy_On_The_Move3

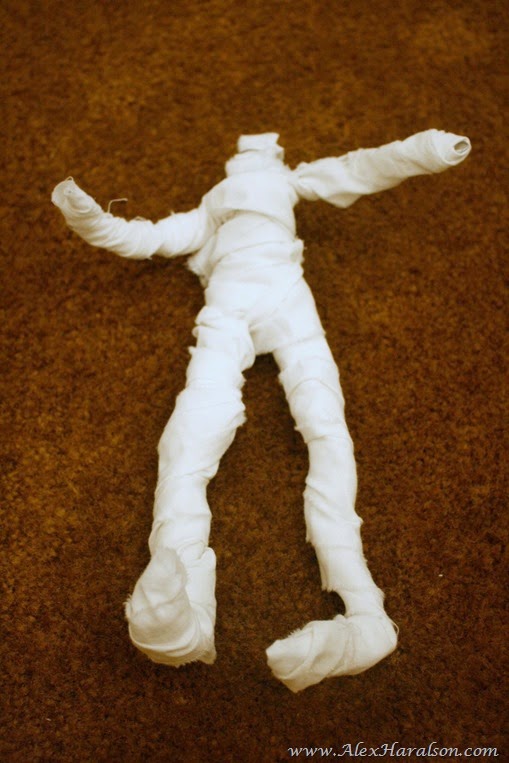
Make the torso by wrapping wire around some fabric that is bundled into the torso shape. Then attach the legs and wrap them in the muslin. Tie knots as the bottom layer to give it some shape, then just simply wrap over top. 

For the arms, wrap around the torso and extend out, overlapping the wire.
Mummy_On_The_Move4

Wrap the arms
Mummy_On_The_Move7

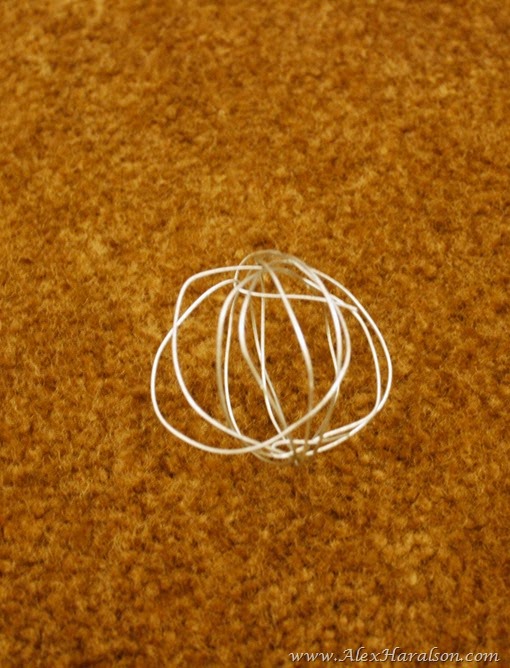
Then create a head by making a sphere.
Mummy_On_The_Move6

Attach the head and wrap with muslin.
Mummy_On_The_Move9

You can then draw a face or not, that’s up to you.
Mummy_On_The_Move12

I hope to be back with some fun ideas and crazy thing this little guy does. 

What kind of Halloween traditions do you have?

Tuesday, September 9, 2014

Rainbow Tulle Tutu

Rainbow_Tulle_Tutu11.2
Is she not the cutest thing EVER?! ok I might be a little biased, but seriously, my little girl is growing up. She’s going to be 1 year in just 9 days! ahhh! I doubt we’ll do much more than a family dinner, maybe a homemade cake…we’ll see.

But even if we don’t do a party, I wanted to make her something cute to wear. I had this tulle leftover from the Easy No Sew Tutu Crib Skirt so it didn’t cost me a penny, my favorite kind of craft! Smile

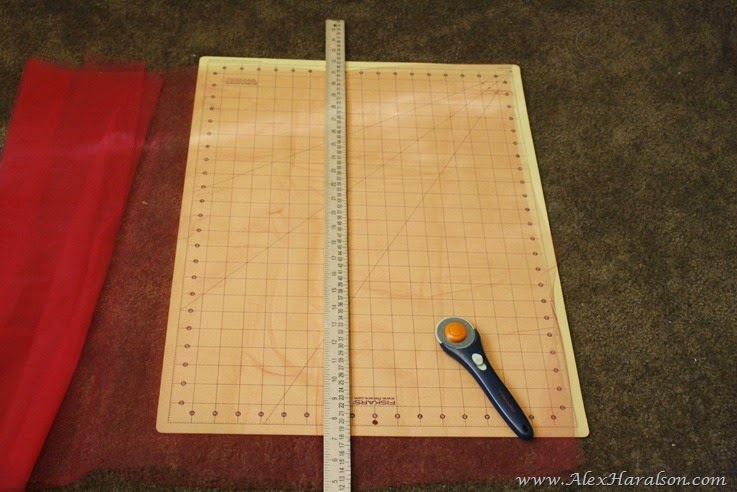
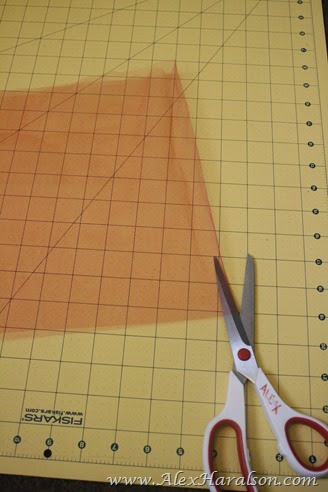
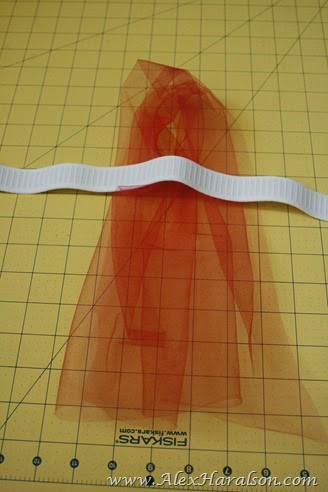
So here’s what I did. I cut the tulle in 10” strips. It’s doubled over here
Rainbow_Tulle_Tutu25

so then you cut it down the crease to make two pieces.
Rainbow_Tulle_Tutu26

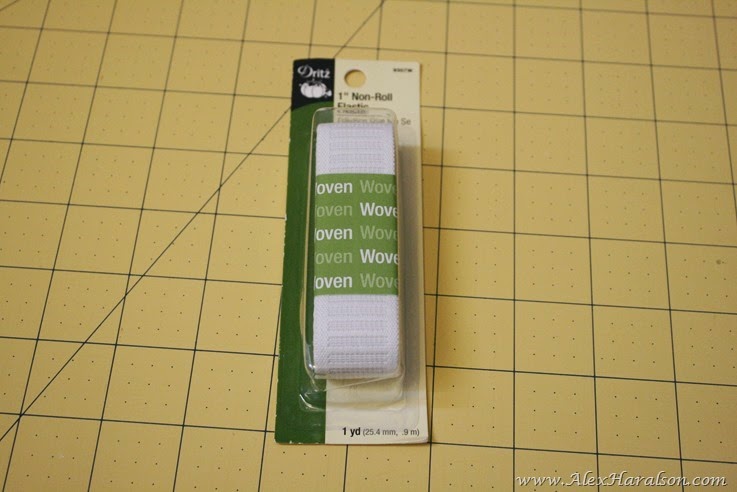
For the waistband I used 1” elastic and all you do with that is cut it to size plus 1”. Then sew the tow ends together with a straight stitch.
Rainbow_Tulle_Tutu27

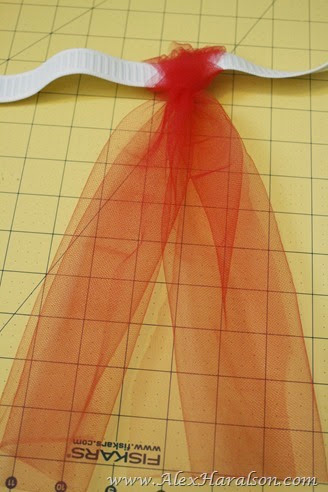
Loop the tulle around the elastic and pull the end through the loop.
Rainbow_Tulle_Tutu28Rainbow_Tulle_Tutu29
Continue that all the way around varying the colors and you’ll end up with a super cute tutu.

Here are some of the ‘outtakes’ from trying to photograph Cadence in her tutu…
You can tell she has older brothers. She loves planes and she ‘flies’ them over her head and even makes the flying noises.
Rainbow_Tulle_Tutu14

Or there’s this…lol more she’s learned from her brothers.
Rainbow_Tulle_Tutu7

No words, just smiles! :)

2014-08-25 14.17.27 

What did you do for your child's 1st birthday? A big party or just a family gathering?

Thursday, September 4, 2014

Crockpot Chocolate Rice Pudding with TruMoo!

This is a Sponsored post written by me on behalf of TruMoo for SocialSpark. All opinions are 100% mine.
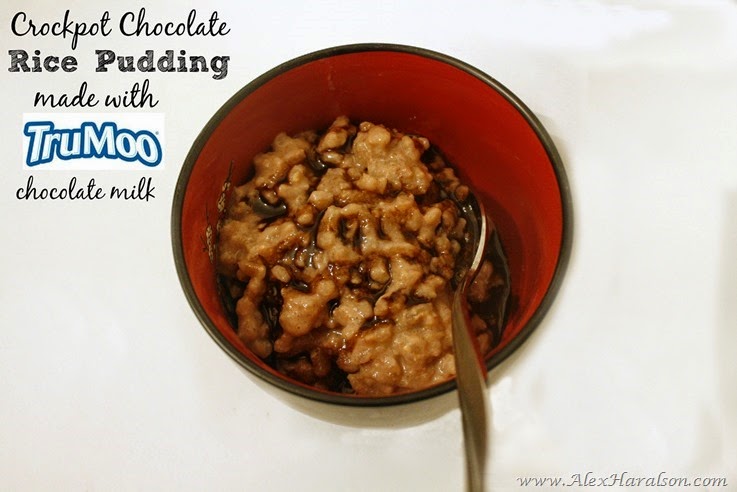
crockpot_chocolate_rice_pudding_trumoo_chocolate_milk_recipe
When I was in college, I found this really amazing shop. I don’t remember who told me about it or who I first went there with, but it was a rice pudding shop. It was amazing! There were different flavors and different toppings. Unfortunately the shop went out of business or moved, but I couldn’t find another place like it. I was so sad!

Fast forward several years and I really haven’t had rice pudding since. I was given the challenge by TruMoo to make something yummy with their milk. Did you know TruMoo doesn’t use high fructose corn syrup to sweeten their milk? Yup, and no artificial growth hormones are used on the cows they get the milk from! TruMoo comes in chocolate, strawberry, vanilla, and coffee!

Go learn more about TruMoo on Facebook or visit TruMoo for more information!

I thought and thought about what I could make and suddenly rice pudding popped into my head. So I’ve come up with a yummy recipe to fill this void in my life, it’s very yummy and not overly sweet.  Jump to the bottom of the page for a giveaway for you!

Crockpot Chocolate Rice Pudding
4 1/2 cups chocolate milk, such as TruMoo Chocolate Milk
1/2 cup cream (optional, I used it because my local store only had 1% chocolate TruMoo, if you find the whole milk you will not need this)
1 Cup Arborio Rice
1/2 sugar
1 Tbsp vanilla
a pinch of salt
1/2 tsp of cinnamon
Stir all ingredients together in the crockpot and put on low for 4 hours.

Transfer to bowls and refrigerate for 2-3 hours.
There you go, I hope you enjoy. You could even use some chocolate chips to top it or fruit as a mix in. I drizzled a tiny bit of chocolate syrup on top. Yum!

What TruMoo flavor are you most excited to try?

Monday, August 18, 2014

10 Tips for Pumping Breast Milk While Traveling

10_tips_for_pumping_breast_milk_while_traveling
Happy Monday, everyone! I’m am so excited to be home and to get back into the swing of things. I was in Long Beach for the last couple days and I can’t wait to tell you all about it, but first I have a post and giveaway for you!

So like I said, I just returned from a couple days trip to Long Beach. It was amazing, but also a little hard. I decided to leave my little girl at home with dad so I could concentrate better. I also decided this trip wasn’t going to disrupt my ability to breastfeed her! Here are 10 tips that I learned and want to share with you about how to successfully pump while traveling.

Battery Pack or Car Adaptor
If your pump doesn’t already come with one, you may want to invest in a battery pack or car adaptor. Depending on where and how you’ll be traveling you might not have convenient access to an outlet. A battery pack or car adaptor will allow you to pump on the airplane, while camping, or in the car.

Nursing Cover
Pumping, to me, is a little different than breastfeeding my baby. While I have recently become more comfortable breastfeeding without a cover on occasion, I personally wouldn’t be comfortable pumping in front of anyone else. If you feel the same way, be sure to pack a nursing cover, light blanket, or something else to help you be discreet.

Chef’s Freezer
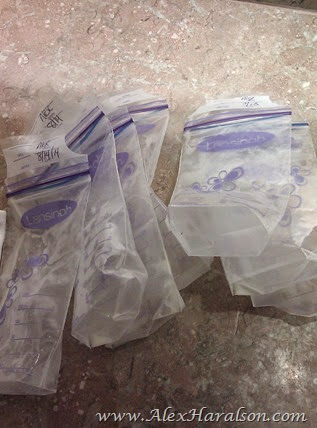
Did you know if you’re staying in a hotel, you can check your breast milk into the fridge or chef’s freezer? Yep, you sure can. The hotel I stayed at gave me a baggage claim ticket and put the individual bags in larger bag. However, here’s my warning. Be sure to be VERY specific where you want it stored. If you are going to be on a longer trip, have it frozen in the chef’s freezer. Two of the people I checked my bags with didn’t hear the freezer part and put it in a fridge and I had to dump them. Sad smile it was super sad!
2014-08-16 23.47.02

Pump when you would normally feed
If you have an established schedule with your baby, try to pump as close to those times as possible. Your body is already accustomed to these times and will be ready then. If your schedule doesn’t allow for this, be sure to pump before and after any activities and try not to go too long.

Bring something of your baby’s
On my recent trip, I was glad to have another friend who was also pumping. She brought a little tag blankie of her daughter’s to keep her scent close by and remind her of her baby. I thought that was such a great idea! Certain scents can be strongly tied to people and memories and having your baby’s scent can help your body relax and let down your milk.

Supplement with Alfalfa
There are a couple herbs that help breast milk production. I choose to supplement with Shaklee’s alfalfa for several reasons. Not only does it help with breast milk but it helps my allergies also. Plus I know I can trust Shaklee with pure alfalfa, no contaminants at all! You can visit my shop to learn more about the alfalfa I use.

Wear the Right Clothing
Even though you’re traveling and away from your baby, be sure you wear clothing that will make it easy for you to pump wherever you are. I wore my DIY Nursing Cami under most of my shirts so I could still cover my stomach and back while pumping.
DIY Nursing Cami16-2

Small Portable Cooler and Ice Packs
If it works with your method of travel, bring along a small cooler or insulated lunch bag with and ice pack or two. This will help when you have to transport home and while in the car or on the plane. I used my cooler to bring my remaining frozen milk home during the 5+ hour drive through the desert. You want your milk to remain and firmly frozen as possible so there is no risk of spoiling.

Drink LOTS of waterAlways drink plenty of water. Sometimes when traveling this can be difficult. Keep a reusable water bottle with you and fill it up as often as you can. Many times when we’re out and about having fun, hydrating can fall to the side, but if you’re pumping water can really make the difference between producing and drying up. At least this is very true for me.

Relax, Breathe
Traveling and being in a new place can be stressful at times. Be sure to take a moment before you pump to just relax and breathe. Clear your mind and focus on your baby.

Well I hope that helps! Do you have any other tips to add?


Friday, August 1, 2014

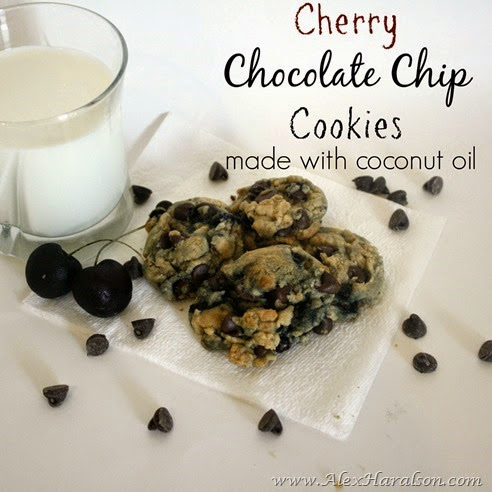
Cherry Chocolate Chip Cookies (made with coconut oil!)

coconut oil in the kitchen cherry chocolate chip cookies
I have been using coconut oil in my cooking for a while now. I use it to stir fry, saute vegetables, and make popcorn (For more ideas, check out my guest post How to Use Coconut Oil in Cooking and Baking). But I hadn’t really used coconut oil in baking much yet. So I found a yummy recipe and gave it a shot.

The cookies turned out amazing and the little hint of cherries with the chocolate was fantastic. I love how things just work out. I had the cherries in my fridge after making the Homemade Cherry Hand Pies and decided to try them in some cookies.

Cherry Chocolate Chip Cookies with Coconut Oil (Recipe adapted from Leelalicious)
  • 1/2 cup + 1-2 Tbsp virgin coconut oil, softened (I have used and like both Trader Joe's Coconut Oil and Tropical Traditions)
  • 1/2 cup sugar
  • 1/2 cup brown sugar, packed
  • 1 1/2 tsp vanilla extract
  • 1 egg
  • 1 1/3 cup flour 
  • 1 tsp baking soda  
  • 2 Tbsp cornstarch
  • 1/4 tsp salt
  • 1 cup chocolate chips
  • 1/2 cup cherries, pitted and chopped 
Soften the coconut oil and cream together with the sugars, egg, and vanilla. Mix for about 3 minutes until fluffy.

Add the remaining ingredients, except the chocolate chips and cherries and mix until combined. At this point my dough was a bit dry so I added another Tablespoon of oil. Fold in the chocolate chips and cherries by hand.

Pre-heat oven to 350 F, spray cooking sheets with spray (Trader Joe’s even has a cooking spray ). Use a cookie scoop and form dough balls, place onto the cookie sheet.

Bake for 9-11 minutes until golden brown.

Allow to cool before devouring every last one! ;)

What are your favorite ways to use coconut oil for cooking and baking?

Wednesday, July 30, 2014

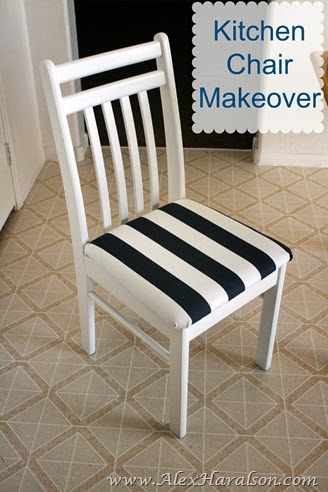
Kitchen Chair Makeover

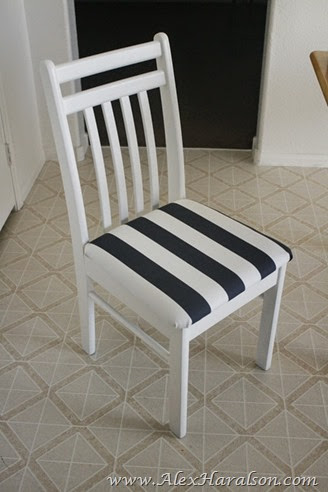
Kitchen Chair Redo8
Do you ever have one of those weeks that you just don’t get much done and really don’t have motivation to? That was last week for me. I don’t know where my head was at, but I just couldn’t focus to do a project or get a post together.
Over the weekend we went to St.George to see an airshow – the boys loved it! It was a great break from the week and I was able to come back fresh. Oh, and we got waffles!! Such an amazing treat and takes me back to the year I spent as an exchange student in Belgium. Mmmm so good!
airshow
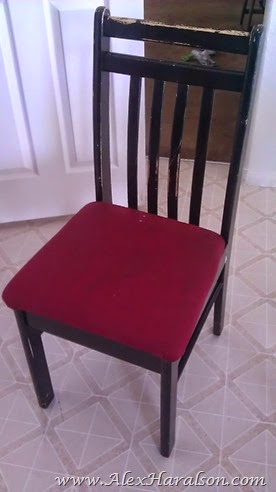
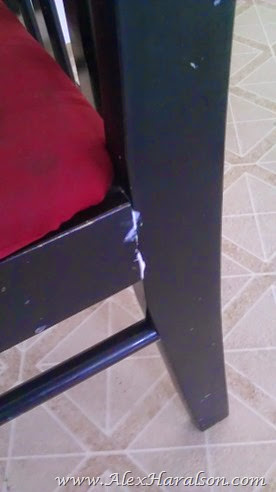
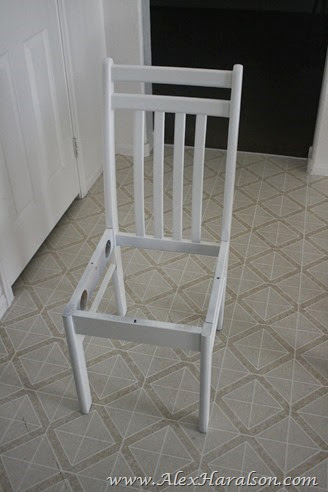
So I was finally able to tackle a project that has been on my list for a while – giving my kitchen chairs a makeover. They were looking pretty gross with food and water marks on the cushion, paint rubbed off, and wobbly as all get out.
2014-07-22 16.57.27
I disassembled the chairs, glued them, and put them back together.
2014-07-22 16.57.34
I borrowed a friend’s paint sprayer and saved a ton of time and trouble painting them. Then I used a brush to apply a coat of polycrylic to hopefully prevent future rubbing and peeling paint.
Kitchen Chair Redo
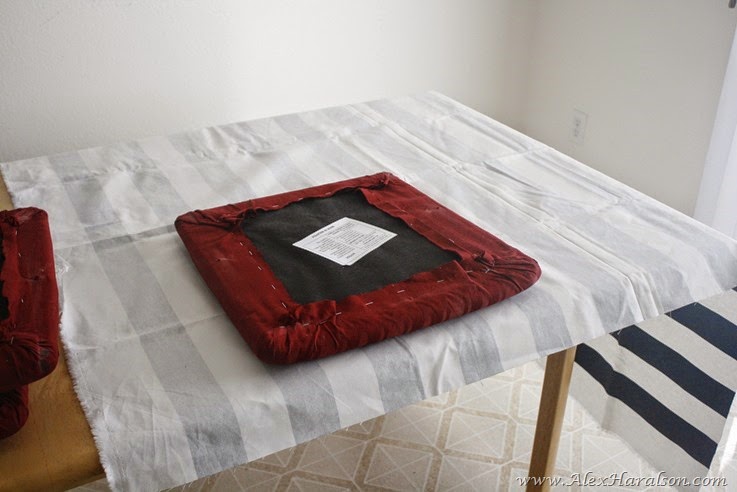
Then recovered the cushions. I actually ended up removing the red completely so it wouldn’t show through my new fabric.
Kitchen Chair Redo2
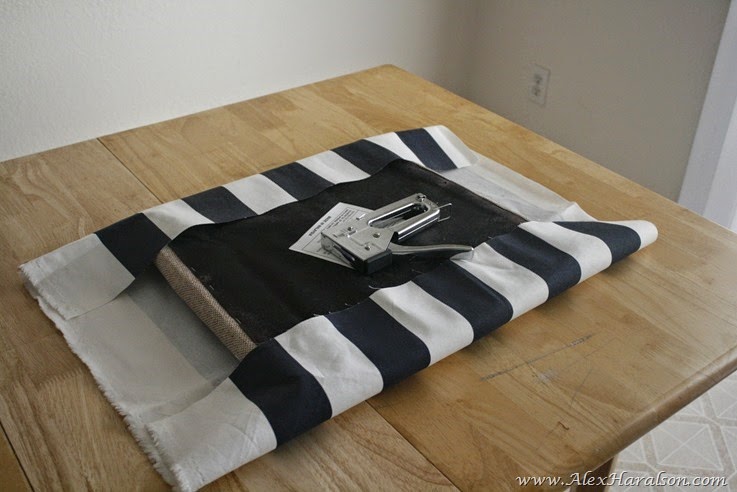
Staple one side, then the opposite being sure to pull snuggly.
Kitchen Chair Redo3
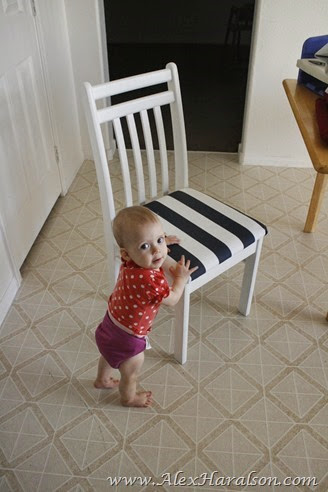
Then reattach to the chair and you’re done. I’m actually going to go pick up some clear vinyl to cover the seat in too so they don’t get so yucky looking so fast.
Kitchen Chair Redo5
Kitchen Chair Redo7

Related Posts Plugin for WordPress, Blogger...