Monday, November 25, 2013

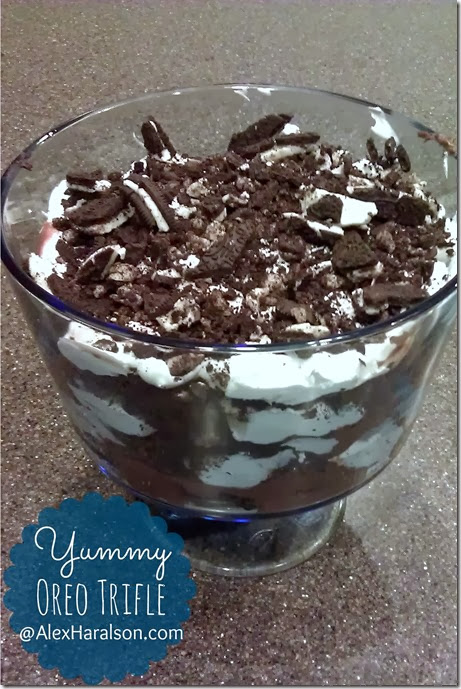
Oreo Trifle

oreo trifle
Last week was my husband’s birthday. He had been out of town all week on a business trip and was coming home on his birthday so I wanted to make him something special. He’s tough when it comes to desserts. He isn’t picky, he just doesn’t get excited by most desserts – brownies, cookies, cake. Sure he’ll eat a bit, but not be excited by them – not special. So I pondered long and hard about what he loves and what would make him feel special and loved on his birthday.

Oreo Trifle!

It was a hit! He gasped and started salivating. Not really, but he did ask me, “Oooo, Is that for me? Can I have some?” Smile 

It wasn’t complicated and my son had fun helping me put it together. It was also delicious!

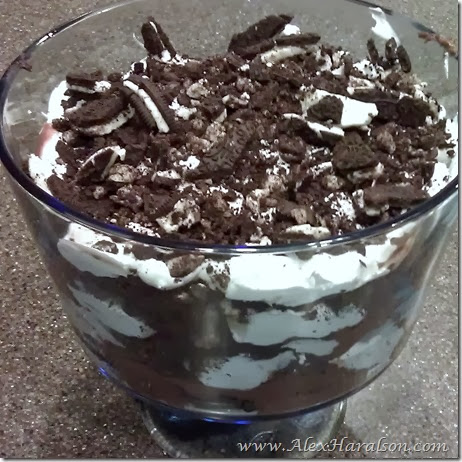
oreo trifle2
Oreo Trifle
  • Brownies
  • Chocolate Pudding (the instant kind)
  • Cool Whip
  • Crushed Oreos
All you do is prepare the brownies and pudding according to the directions. Once they are done layer (I did 3 layers) in order; brownies, pudding, cool whip, oreos.

Enjoy!!

Wednesday, November 13, 2013

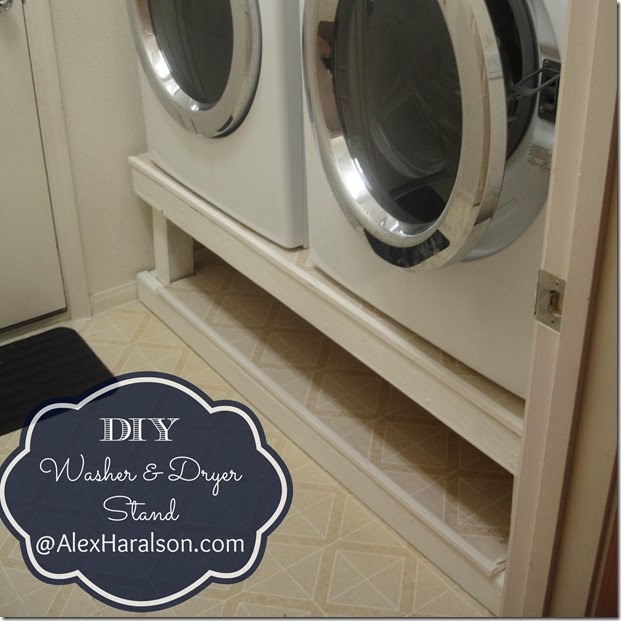
DIY Washer Dryer Stand

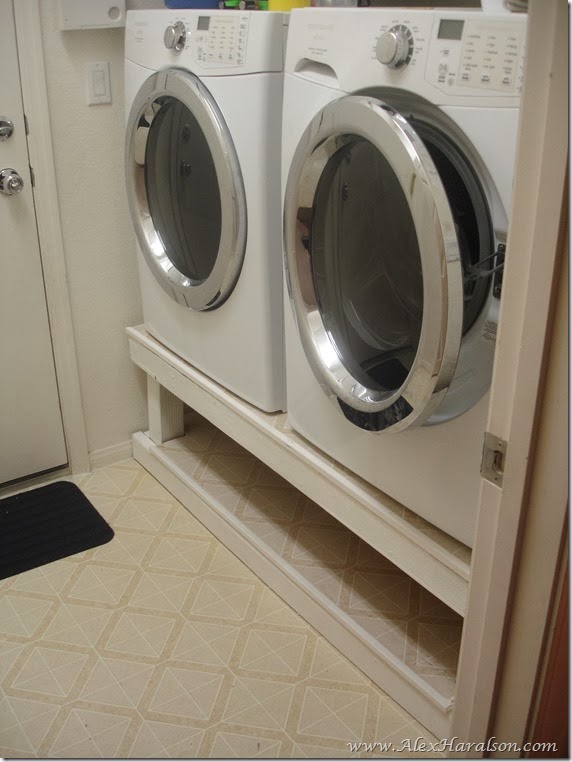
Washer Dryer Stand15
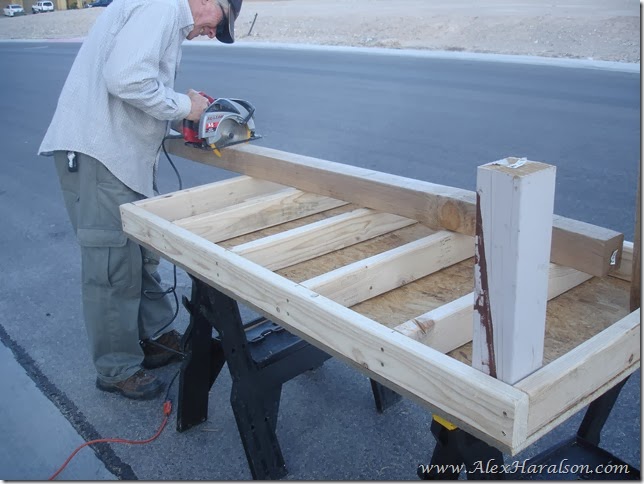
Have you ever had one of those projects that just drags on FOR-E-VER? Yeah, this has been mine. My dad and I started building this washer and dryer stand so long ago that I’m ashamed to admit exactly how long it’s been. haha.

I wanted to build this washer dryer stand for a couple reasons. One my laundry room is in the worst place ever, just inside the door to the garage. It’s nothing more than a hallway with a room for a washer and dryer. Super inconvenient.

Two, the front loading washer and dryer are great but bending over to change the laundry was hurting. For some reason the builder of our house decided to reverse the normal position of the washer/dryer with the washer on the right. I was able to change the way the dryer door opens but the washer door can’t be switched. So I would have to bend over to empty the washer then either pick up or slide the basket around the door to get to the dryer.

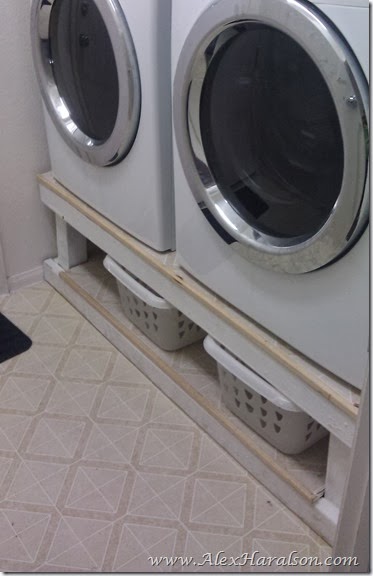
My dad and I set out to build this stand so I would have a place to put my laundry baskets when not in use and so I wouldn’t have to bend over so much when doing laundry. We got the plans from Knock Off Wood and modified them slightly to fit the space in my laundry room and my laundry baskets.

Washer Dryer Stand

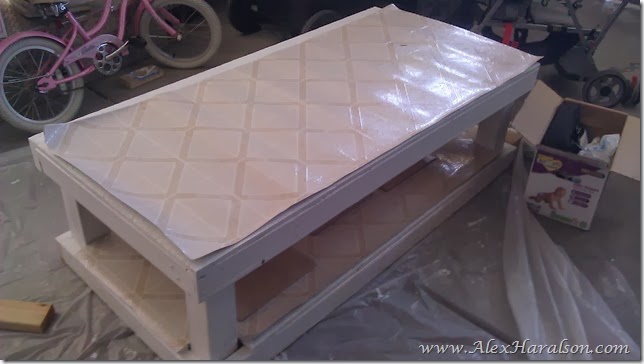
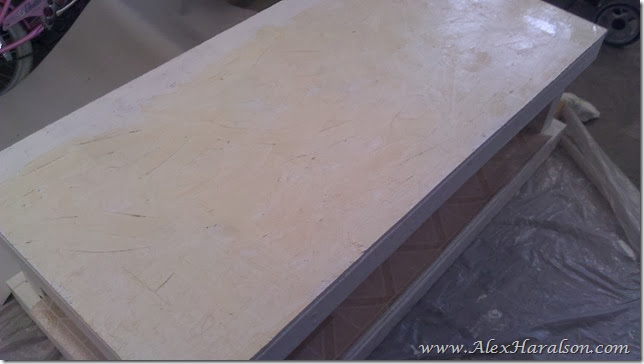
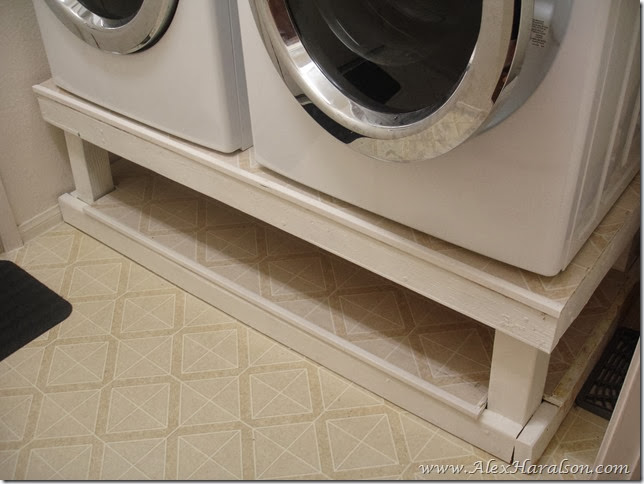
Once the stand was built, I painted it white with some latex we had on hand. As a bonus, the previous owner of this house had left some extra vinyl in the garage. I thought it would make the stand easier to clean and protect it from water if there ever was a leak. So I measured it out and cut it to size with a utility knife.

Washer Dryer Stand4

I’d never laid vinyl flooring before, but it wasn’t too hard. Just spread on the glue and let it sit for a little bit. Put the vinyl on and roll out the bubbles.

Washer Dryer Stand6

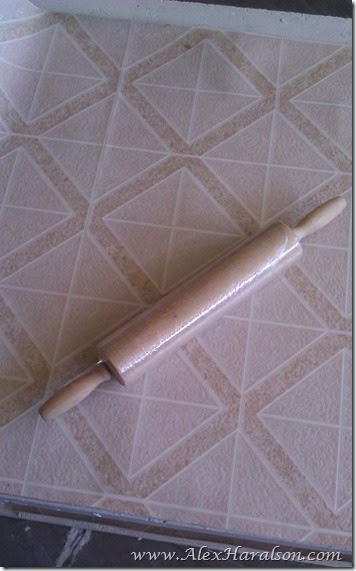
I didn’t have a vinyl roller so I used my rolling pin (wrapped in plastic). haha!
Washer Dryer Stand10

From there it was pretty much done. It sat in the garage for a long time waiting to get installed. My husband doesn’t like to ask for help so I woke up from a nap one Saturday to find him in the laundry room with the stand in place and trying to lift the washer and dryer up into place. Crazy man! Luckily a friend happened to pull up (for another reason) at that exact moment and helped out. Good thing too because by then I was pretty pregnant.

Once the stand was in place I finished it off with some corner molding and finish nails.

2013-11-11 10.20.48

And I finally filled the holes and painted!

Washer Dryer Stand12

Washer Dryer Stand13

I’m really happy with how it turned out. And for any of you wanting to build one, do it. Just because it took me forever doesn’t mean it was hard. It was actually a pretty simple build. I just needed help doing heavy lifting and building during my pregnancy so it only got worked on here and there. Hope that helps!

Monday, November 11, 2013

Hanging A Large Piece of Art on Your House or Wall

Well, it sure has been quiet here on the blog front. Halloween night we had a bunch of family come to town for Cadence’s blessing.
2013-11-03 11.20.37
After they all left, it took a while to finish all the laundry and cleaning and then I took a rest.

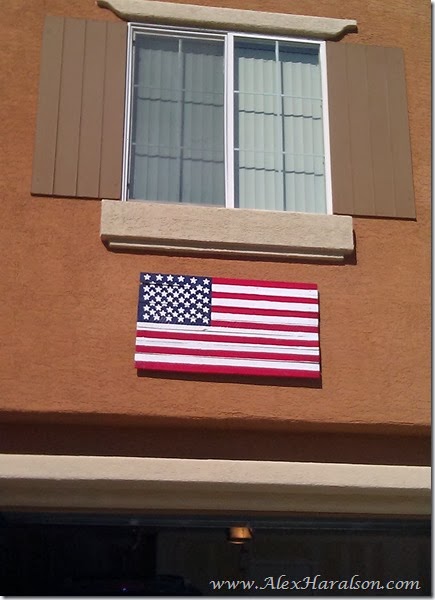
So here I am finally sharing a project I finished. Remember this American flag I made over the summer? Well we finally got it hung. First my husband had to decide where he wanted it, then we had to get HOA approval, and finally I had to wait until the baby was safely out of my belly to scale a ladder.

2013-11-08 10.11.58

We ended up having to stand on the back of our SUV because our ladder wasn’t tall enough.
So how do you go about hanging something like this on your house? Well there might be an easier way, but this is how I did it…

I made a french cleat, but without the mitered edge.


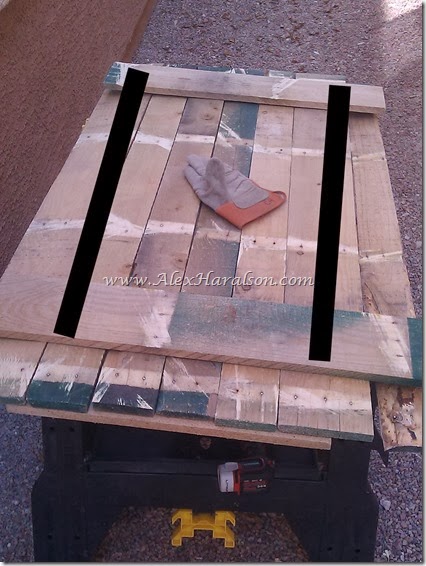
I attached two 1”x2” along the back of the flag. I forgot to take a picture, but here’s the general idea…
hanging flag
Then I measured really well and attached two 1”x2” to the house to sit underneath the ones on the flag. I used special stucco bolts to drive them into the house.

Then with my husbands help, we lifted the flag up and rested it on the two 1”x2”s on the house.
The last step was attaching the flag to the ‘cleats’ with a 3” wood screw. We did this by driving a screw through the cleats coming from the top and bottom (does that make sense?) So basically we screwed the two cleats that touched on top together and the two cleats touching on bottom together.

Anyway, it was a process so I didn’t take pictures, but I hope that makes sense to you. I've got a bunch more coming; I finished my DIY washer/dryer stand, made some Christmas decorations, and have a couple sewing projects in the works. I think we'll be going to the park every morning this week so nap times are really good :)
Related Posts Plugin for WordPress, Blogger...